Submitting Jobs
There are three main ways to add your Blender projects to the Batch Render Creator v3 queue. Whether you prefer working entirely within Blender or dragging files directly into the manager, BRC v3 offers a flexible workflow for any production environment.
Method 1: Blender Bridge (Addon)
- Where to find it: Access the bridge via the Top Render Menu (Render > Batch Render Creator) or the Properties Panel (Render Tab > Batch Render Creator (bottom)).
- Submission Types:
- Submit Animation: Sends the complete frame range defined in your scene.
- Submit Single Frame: Submits only the current frame, automatically suffixed with the frame number.
- Customize Before Submitting: Opens a modal to override settings like Resolution, Engine, and Camera without changing your .blend file.
- Automation: If Automatically Accept Projects is enabled, BRC will add the job to the queue immediately without manual confirmation.
- Learn More: For detailed setup and usage instructions, see the Blender Bridge Guide.
Method 2: Drag & Drop
You can add projects by simply dragging one or more .blend files from your file explorer (Windows Explorer or Linux Files) directly into the BRC v3 interface.
- Bulk Import: You can select multiple files at once and drop them into the main area.
- Instant Processing: BRC will immediately start reading the metadata (Scenes, Cameras, etc.) for each file dropped.
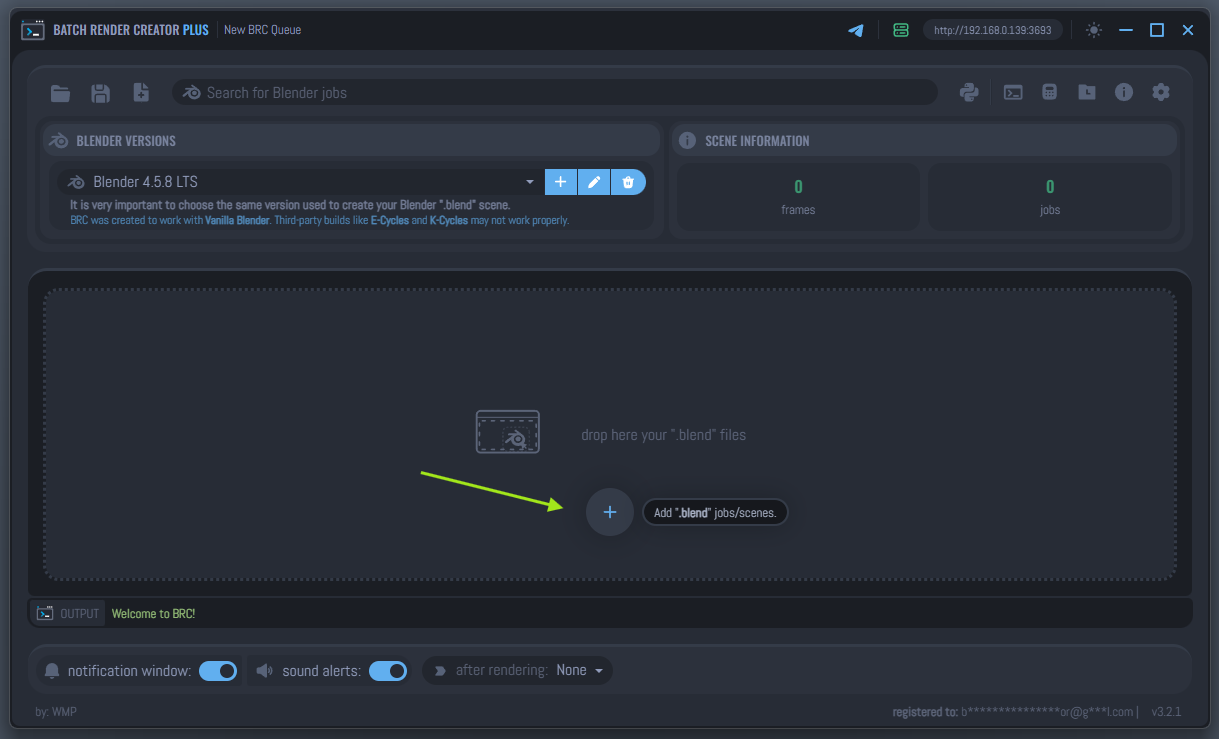
Method 3: Manual "Add .blend" Button
The main interface features a prominent "Add .blend jobs/scenes" button.
The manual "Add" button only becomes visible after you have added at least one Blender version in the Blender Setup panel. This is because BRC needs a Blender executable to read the internal data of your scenes.
Workflow: Click the button, browse to your project folder, and select the .blend files you wish to render.
How BRC Processes Your Scenes
Once a job is submitted, BRC v3 uses the selected Blender version to "peek" into the file and extract critical information:
- Scene & Camera: Automatically identifies the active scene and available cameras.
- Frame Range: Reads the start and end frames defined in the Blender file.
- Output Path: Detects where the render is currently set to be saved.
Auto-Loading Data
To ensure these fields are populated automatically upon submission, make sure the "Auto load data from .blend jobs" setting is enabled. You can find more details about this in the General Preferences section.
Always ensure the Blender Version selected for the job matches the one used to create the scene. Rendering with a different version can lead to unexpected errors or visual discrepancies.